Setup
Once the necessary preparations have been made - for example, configuring the underlying operating system, the i-doit setup can begin.
Quick Start#
Extract the i-doit installation package in a directory that the Apache HTTP Server has access to. Then navigate to this directory with your browser and follow the setup instructions.
Download and Extract the installation Package#
The installation package of the pro variant is available to all customers in the customer portal, and the open variant at i-doit.org. This package is copied to the prepared server, extracted, and the files and directories are given the appropriate permissions. These instructions differ depending on the operating system.
Debian or Ubuntu#
The Apache HTTP Server runs with the permissions of the user www-data and the group of the same name www-data. The main directory of the Apache HTTP Server is /var/www/html/:
Create the i-doit folder and copy the files into it:
1 2 3 4 | |
Now set the permissions so that the Apache HTTP Server user can read and write:
1 2 3 | |
Red Hat Enterprise Linux (RHEL)#
The Apache HTTP Server runs with the permissions of the user apache and the group of the same name apache. The main directory of the Apache HTTP Server is /var/www/html/:
Create the i-doit folder and copy the files into it:
1 2 3 4 | |
Now set the permissions so that the web server user can read and write:
1 2 3 | |
Suse Linux Enterprise Server (SLES)#
The Apache HTTP Server runs with the permissions of the user wwwrun and the group www. The main directory of the Apache HTTP Server is /srv/www/htdocs/:
1 2 3 4 | |
Now set the permissions so that the web server user can read and write:
1 2 3 | |
Microsoft Windows Server#
Specific file and directory permissions typically do not need to be set if the Apache HTTP Server installed with XAMPP runs with the same user permissions.
Perform Setup#
i-doit can be installed in two ways: conveniently via the Web GUI (recommended for beginners) or via the console (e.g., for automated installation).
Web GUI#
The setup is automatically called when you access i-doit with the browser (example: http://i-doit-host/).
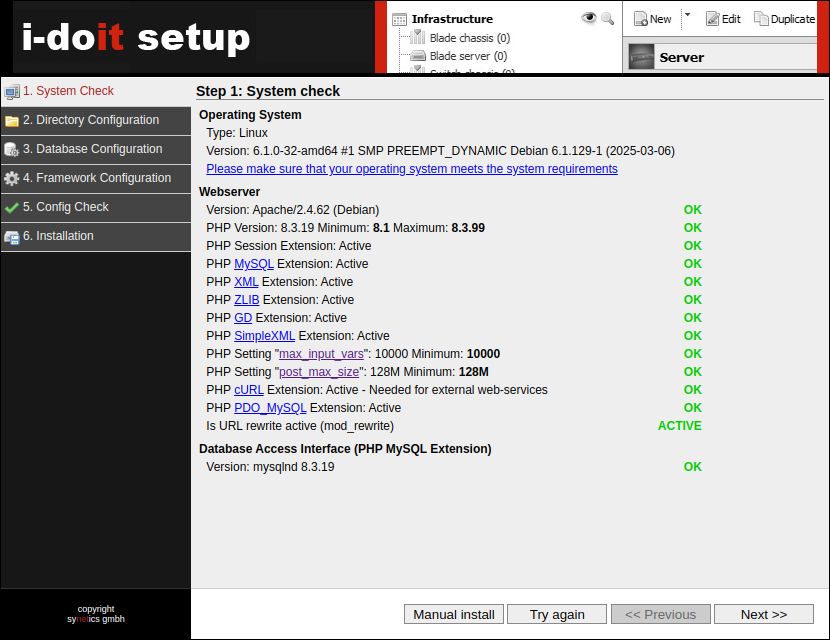
System Check#
In the first step, important system settings are checked. If something is not in order, the user is notified.
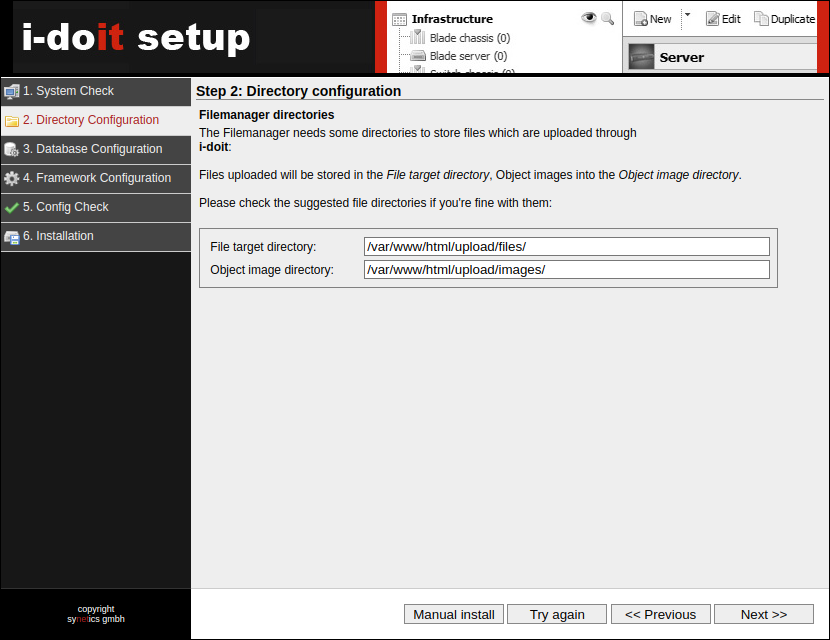
Directory Configuration#
Here, the paths are requested where installation- and user-specific files should be stored. The suggestions can be accepted.
Database Configuration#
Important credentials and settings need to be entered for the database connection. At least two databases and a special user are created for i-doit.

- Connection settings
- Host: typically the host itself, i.e., localhost or 127.0.0.1
- Port: typically the default port of MySQL/MariaDB, i.e., 3306
- Username: username of the database system user, usually root
- Password: password of the user
- MySQL user settings
- Username: username of the owner of the i-doit databases, usually idoit
- Password: password of the user
- Database settings
- System Database Name: name of the system database, usually idoit_system
- Mandator Database Name: name of the database for the first tenant, usually idoit_data
- Mandator title: title of the tenant, usually the name of the organization in focus
- Start value for object/configuration item IDs: usually 1
Unix Socket vs. Network Port
PHP can connect to MariaDB/MySQL in two ways: via Unix Socket or via TCP/IP. We recommend using the more performant Unix Socket. The use of Unix Socket is enforced when you enter the value localhost in the Host configuration mentioned above. Any other value (127.0.0.1, FQDN, etc.) will cause TCP/IP to be used.
MariaDB/MySQL typically opens a Unix Socket when the service starts. The path is specified in the socket setting and is, for example, /var/run/mysqld/mysqld.sock on Debian GNU/Linux. This value must be known to PHP so that i-doit can establish a connection to MariaDB/MySQL. The corresponding PHP setting is mysqli.default_socket. If you have followed the installation guide, you can add this setting to the PHP configuration file you created, for example: mysqli.default_socket = /var/run/mysqld/mysqld.sock
Subsequent changes to PHP settings only take effect when the Apache HTTP Server service is reloaded. Example on Debian GNU/Linux: sudo systemctl reload apache2.service This tip applies to Unix-like operating systems. Windows is excluded.
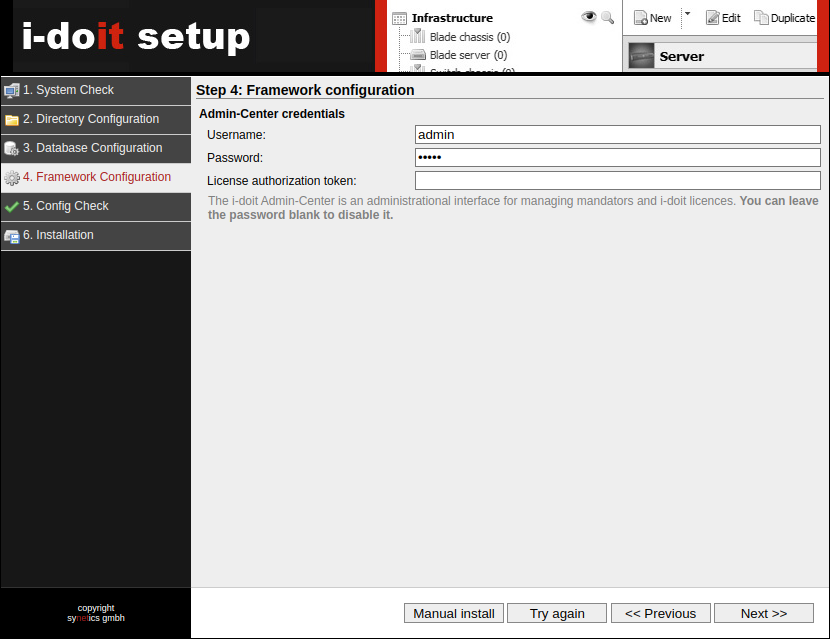
Framework Configuration#
There are separate credentials for accessing the Admin Center in i-doit, which can be set here. It is recommended to do so.
Config Check#
In this step, all previous steps are summarized and it is checked whether the setup can be completed.
installation#
In this step, the actual installation of i-doit on the system takes place. After successful installation, a summary follows. After that, i-doit can be accessed and used.
Console#
i-doit can be installed via the console using the included console.php: through a guided wizard or through a single line suitable for automated installations. Both methods are performed within the i-doit directory:
1 | |
It is mandatory to execute the following commands with the user whose permissions the web server runs under. On Debian-based operating systems, this is www-data, on RHEL apache, and on SLES wwwrun.
The options are based on the setup via the Web GUI.
Guided installation via Console#
1 | |
The wizard asks for some credentials and settings. Values shown in brackets are default values that are accepted by pressing Enter.
A tenant can then be created via the Admin Center or via the console.php.
1 | |
Automated installation via Console#
1 | |
i-doit is now installed. We still need a tenant. We also create this via the console.php:
1 | |